When I decided to renovate my first bathroom, I had big dreams. I wanted the Pinterest-perfect space—a sleek walk-in shower, chic tiles, and storage that would magically make my clutter disappear. I thought, “How hard can it be?” Turns out, harder than I imagined.
Between picking the wrong tile size (and realizing mid-install it wouldn’t fit) to discovering water damage behind the shower wall, the process was a rollercoaster.
But despite the setbacks, stepping into the finished bathroom for the first time felt like magic. I had turned a dated, cramped space into a functional, stylish oasis, and I learned a lot along the way.
If you’re about to tackle your own bathroom renovation, let me save you some stress. This guide breaks everything down step by step, blending practical advice with personal stories to help you avoid the mistakes I made and create the bathroom of your dreams.
Let’s dive in!
Step 1: Define Your Goals
Before you start picking out tiles or debating the merits of a rain showerhead, take a step back and figure out your goals. Renovations can get overwhelming fast, so knowing your “why” will help you stay focused.
Key Questions to Ask Yourself:
- What’s driving this renovation?
- Is your bathroom outdated? Lacking storage? Too cramped?
- Who’s using the space?
- A family bathroom needs durable, kid-friendly finishes, while a master bath can focus on luxury.
- What’s your ultimate goal?
- Are you renovating for yourself, or are you planning to sell the home soon?
Personal Story: For my first bathroom renovation, my main goal was storage. I was tired of juggling shampoo bottles and stray hairbrushes on a tiny pedestal sink. Once I knew what I needed—better functionality and organization—it was easier to prioritize features and keep my budget in check.
Step 2: Budget Like a Pro
Let’s talk about money, because this is where most bathroom renovations run into trouble. A clear budget not only keeps your costs under control but also helps you decide where to splurge and where to save.
Typical Budget Tiers:
- Basic Update ($3,000–$10,000):
- Cosmetic changes like paint, lighting, and affordable fixtures.
- Mid-Range Remodel ($10,000–$20,000):
- New shower/tub, upgraded materials, and semi-custom vanities.
- Luxury Remodel ($20,000+):
- High-end finishes, custom cabinetry, and possibly structural changes.
How to Break It Down:
- Labor: 40–60% of your total budget.
- Fixtures: 20–30%. Think sinks, toilets, and showerheads.
- Materials: 10–20%. Includes tiles, flooring, and countertops.
- Contingency: 10–15%. Always plan for the unexpected.
Personal Story: I set a $12,000 budget for my first renovation, but I didn’t account for the hidden water damage we found behind the shower. That surprise added $1,500 to the project. Now I always build in a contingency fund—it’s not glamorous, but it’s a lifesaver.
Pro Tips to Save Money:
- Keep plumbing where it is. Moving pipes can cost $500–$1,500 per fixture.
- Splurge on fixtures you use daily (like a great showerhead) and save on decorative items.
- Shop clearance sales and consider refinishing instead of replacing (e.g., reglazing a tub).
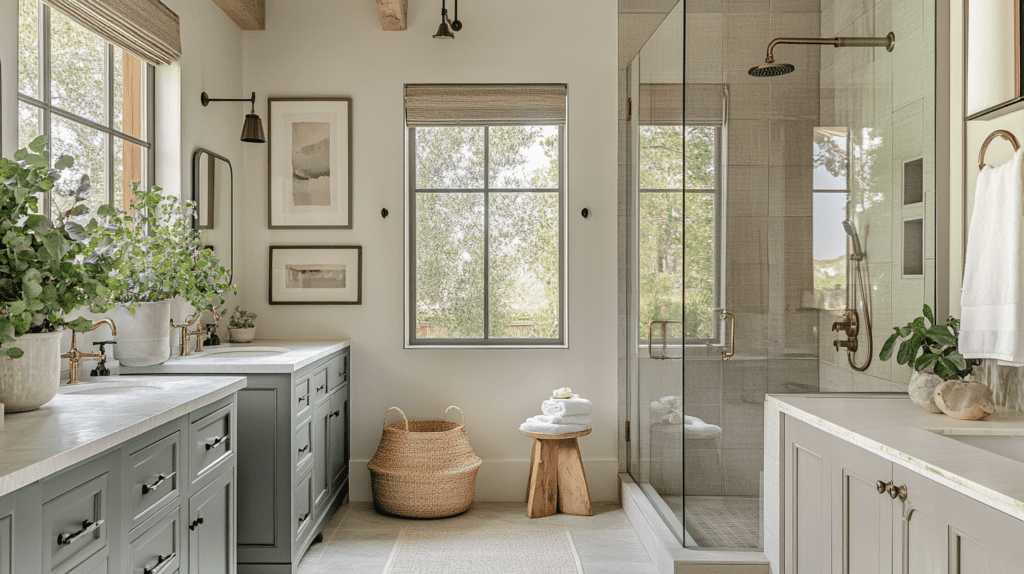
Step 3: Gather Inspiration
Now the fun begins—dreaming about what your new bathroom could look like! Start by gathering ideas, but remember to balance aesthetics with functionality.
Where to Find Inspiration:
- Pinterest: Create boards for styles you love, like “modern spa bathroom” or “farmhouse chic.”
- Showrooms: Visit local home improvement stores to see materials in person.
- Design Blogs: Follow sites like OFFFFLOW for fresh ideas and expert tips.
Personal Story: My first Pinterest board was chaos: modern tiles, vintage clawfoot tubs, and bright pops of color all jumbled together. It wasn’t until I visited a tile showroom that I realized I preferred warm neutrals and matte finishes. Seeing materials in person helped me narrow down my style.
Pro Tip: Think Beyond Looks
- Struggling with storage? Look for vanities with built-in organizers.
- Hate cleaning? Research low-maintenance materials like quartz or large-format tiles (fewer grout lines = less scrubbing).
Step 4: Measure and Assess Your Space
Before you buy anything, grab a tape measure and get to know your bathroom. Accurate measurements are your best friend.
What to Measure:
- Overall Dimensions: Length, width, and height of the room.
- Fixture Placement: Mark where the toilet, sink, and shower currently sit.
- Obstructions: Note windows, doors, and any awkward angles.
Personal Story: I once skipped measuring door clearance, and my new vanity drawers couldn’t open without hitting the door frame. Fixing that mistake cost me time, money, and a lot of frustration. Measure everything.
Step 5: Choose Fixtures and Materials
Your materials and fixtures are what give your bathroom its personality. Choose pieces that reflect your style but are also practical for your lifestyle.
Fixtures:
- Shower/Tub: A walk-in shower is modern, but a tub is essential if you plan to sell your home later.
- Vanity: Storage is key—opt for drawers and cabinets with organizers.
- Lighting: Layered lighting (overhead + task) makes a huge difference.
Materials:
- Tiles: Large-format tiles make small bathrooms feel bigger. Add mosaics for an accent.
- Countertops: Quartz is durable and low-maintenance; marble is stunning but requires sealing.
- Flooring: Go for slip-resistant options like textured porcelain or vinyl plank.
Personal Story: I fell in love with marble tiles for my shower but quickly realized they were high-maintenance (and over budget). Instead, I chose a marble-look porcelain tile that gave me the same vibe without the headache.
Step 6: Demolition and Installation
It’s time to get to work! Renovations follow a set order to keep things efficient.
Order of Operations:
- Demolition: Remove old fixtures and finishes. Protect nearby rooms with plastic sheeting.
- Plumbing and Electrical: Update these systems before closing up walls.
- Tile and Flooring: Lay tiles carefully—this is where attention to detail matters most.
- Painting and Fixtures: Add the finishing touches like paint, mirrors, and lighting.
Personal Story: Watching the demo of my old bathroom was oddly satisfying—until we discovered a hidden plumbing issue that needed fixing. This step is messy, but it’s also where your new bathroom starts to take shape.
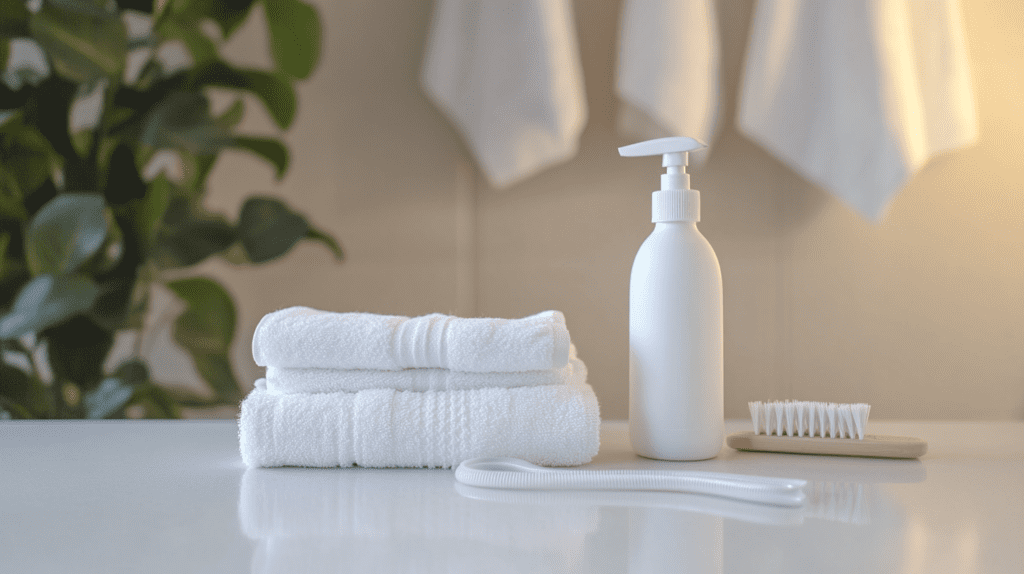
Step 7: Add Finishing Touches
The final details turn your bathroom into a space you’ll love.
- Accessories: Add a stylish mirror, sleek soap dispensers, and plush towels.
- Décor: Plants like ferns or snake plants thrive in bathrooms and add a fresh vibe.
- Tech Upgrades: A heated towel rack or Bluetooth showerhead can add a touch of luxury.
Personal Story: I bought a Bluetooth showerhead as an impulse purchase, thinking it was a gimmick. Now, it’s my favorite feature. Singing along to my morning playlist makes every shower feel like a concert.
Ready to Start?
Bathroom renovations take time, effort, and a solid plan, but the result is worth it. Stick to your goals, stay within budget, and don’t sweat the small hiccups—they’re part of the journey. For more ideas, product reviews, and inspiration, explore the rest of OFFFFLOW.
Have a renovation story or question? Drop it in the comments—we’d love to hear from you!