Drip. Drip. Drip. That sound is enough to drive anyone crazy.
Whether it’s waking you up at night or adding to your water bill, a leaky shower head is one of those annoyances that feels bigger than it should.
The good news? Fixing it is usually a lot easier than you think!
Most leaks can be solved with a little cleaning, some inexpensive replacement parts, and a touch of patience. No plumber, no panic—just a few tools and some DIY magic.
Let’s walk through the steps to identify the issue and get that shower head working (and sounding) like new again.
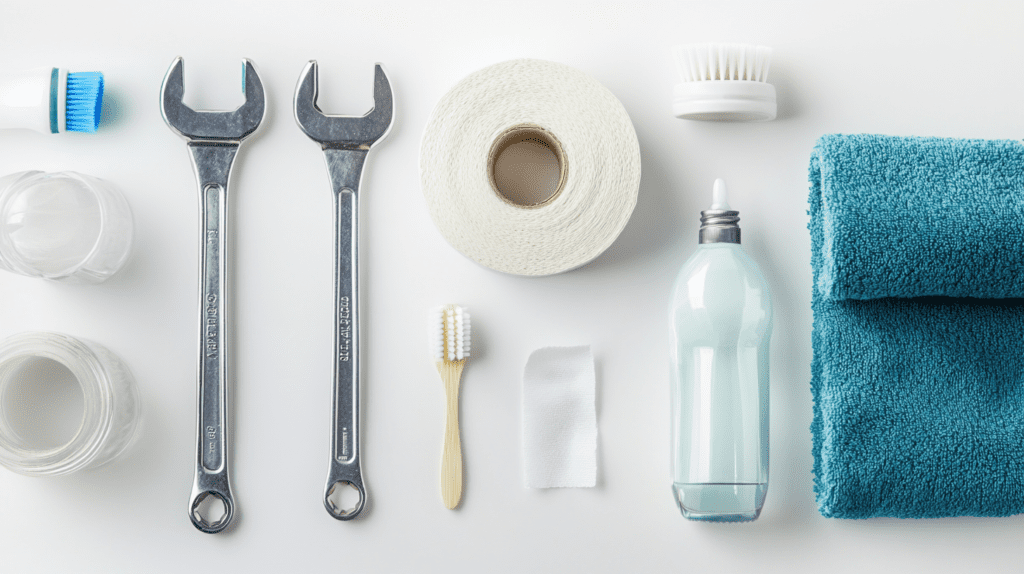
What You’ll Need: Tools and Supplies
- Teflon (Plumber’s) Tape: To seal the threads and prevent leaks.
- Adjustable Wrench: To remove and reattach the shower head.
- Microfiber Cloth or Rag: To protect the finish while using the wrench.
- Vinegar: For cleaning mineral buildup.
- Old Toothbrush: To scrub hard-to-reach areas.
- Replacement Washers or O-Rings: In case the existing ones are worn.
- Bowl or Bucket: For soaking the shower head.
Having these on hand will make the job quick and easy—no frantic trips to the hardware store mid-repair!
Step 1: Diagnose the Problem
Before you grab your tools, figure out what’s causing the leak. Most issues boil down to three main culprits:
- Mineral Buildup: Hard water can clog your shower head’s holes and create gaps in the seals.
- Worn Washers or O-Rings: These little rubber parts get brittle or cracked over time, leading to leaks.
- Loose Connections: Sometimes, all it takes is tightening the shower head or pipe fittings.
Take a moment to observe where the leak is coming from—it’ll save you time when you start fixing it.
Step 2: Turn Off the Water Supply
This is the part where you don’t accidentally flood your bathroom. Turn off the water supply at the valve or main line before you start taking anything apart. Trust me, this step is key.
Step 3: Clean the Shower Head
A surprising number of leaks are caused by mineral buildup. Here’s how to clean your shower head like a pro:
- Remove the shower head. If it’s stuck, use a wrench, but wrap the wrench jaws in a cloth to avoid scratches.
- Soak the head in a bowl of vinegar for 20–30 minutes to dissolve buildup.
- Use an old toothbrush to scrub the spray holes and remove gunk.
- Rinse thoroughly and let it dry before reattaching.
I once thought vinegar was just for salads, but it turns out, it’s also your shower’s best friend. After one soak, my clogged shower head was practically singing in gratitude—and so was I.
Step 4: Inspect and Replace Parts
If cleaning doesn’t stop the leak, it’s time to check the internal parts:
- Washers or O-Rings: These are the most common troublemakers. If they look cracked, flattened, or worn, replace them.
- Teflon Tape: Wrap plumber’s tape around the threads of the shower arm to create a tight, leak-proof seal.
Pro Tip: When reassembling, avoid overtightening—snug is enough. Overdoing it can crack connections and leave you with a bigger problem.
Step 5: Test Your Fix
Once everything is reassembled, turn the water back on and check for leaks. If it’s still dripping, double-check the following:
- Are the washers or O-rings properly in place?
- Did you use enough Teflon tape on the threads?
- Is the shower head securely attached?
What If the Leak Isn’t Fixed?
If you’ve cleaned the shower head, replaced the washers, and wrapped the threads with Teflon tape, but the leak persists, the problem might not be with the shower head at all.
Faucet Issues
Leaks can sometimes be traced back to the faucet valve or cartridge. Over time, these internal components wear out, causing water to drip even when the shower is turned off. Here’s what to do:
- Inspect the Faucet Cartridge: This part regulates water flow and may need to be replaced. Look up a model-specific guide or consult your faucet’s manual for instructions.
- Call a Pro: If you’re unsure or the problem seems more complicated, don’t hesitate to contact a professional plumber. Sometimes, it’s worth it for peace of mind.
Prevent Future Leaks
Want to avoid dealing with leaks altogether? Here are a few tips:
- Clean Regularly: Soak your shower head in vinegar every few months to prevent buildup.
- Use a Water Softener: Hard water is a major culprit for mineral deposits—softened water helps reduce buildup.
- Don’t Overtighten: When assembling or tightening parts, remember that snug is better than overly tight.
Wrap-Up: Why Fixing Your Shower Head Feels So Good
There’s something deeply satisfying about tackling a problem that’s been driving you nuts—and winning. Fixing a leaky shower head isn’t just about stopping that annoying drip (though, let’s be honest, that’s a huge win). It’s about saving water, saving money, and proving to yourself that you’ve got what it takes to handle the little things life throws your way.
Every time you step into your bathroom and see that perfectly functioning shower head, you’ll know you did that. You took a drip and turned it into a triumph. And honestly, there’s no better feeling than knowing you’ve mastered one more home fix on your DIY checklist.
So grab your tools, wrap that Teflon tape like a pro, and say goodbye to leaks for good. You’ve got this—and your shower (and sanity) will thank you for it.